
Last updated November 17, 2026
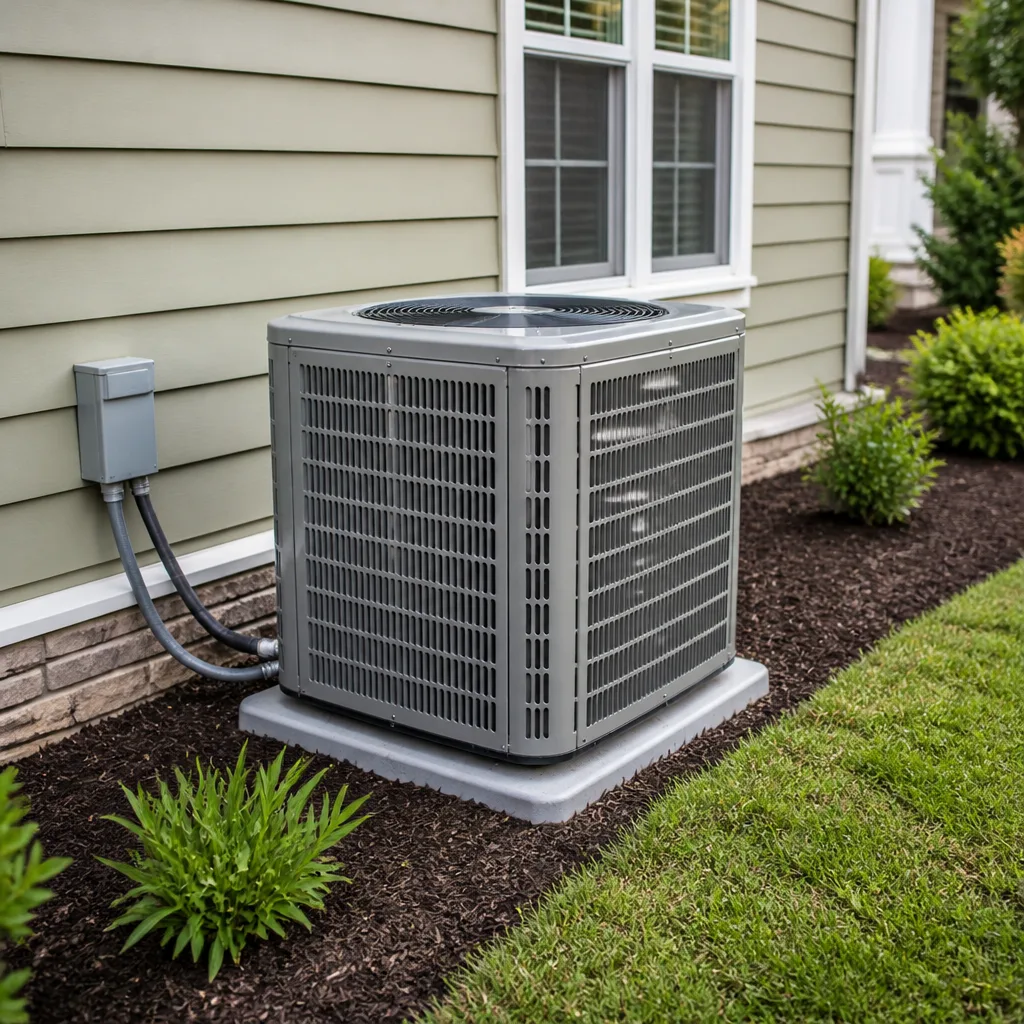 AC repair
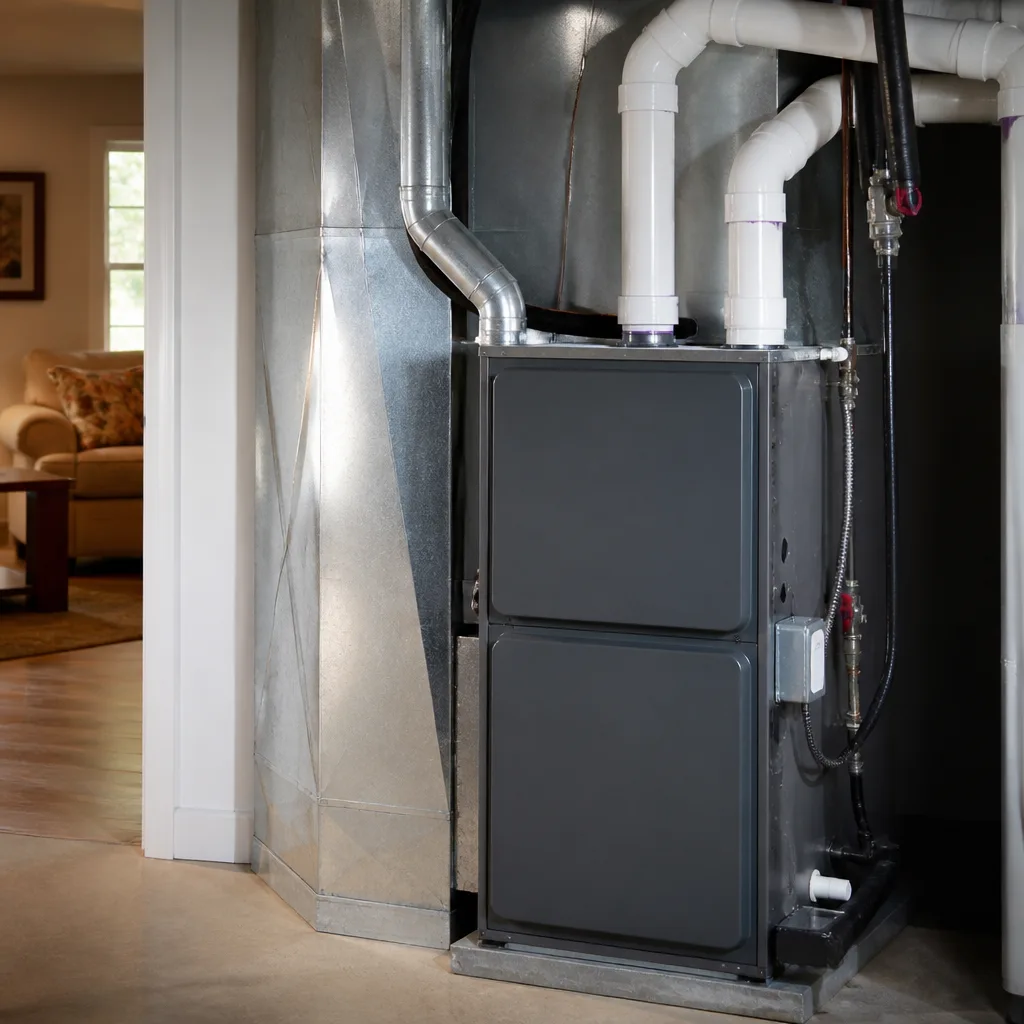 Furnace & heating
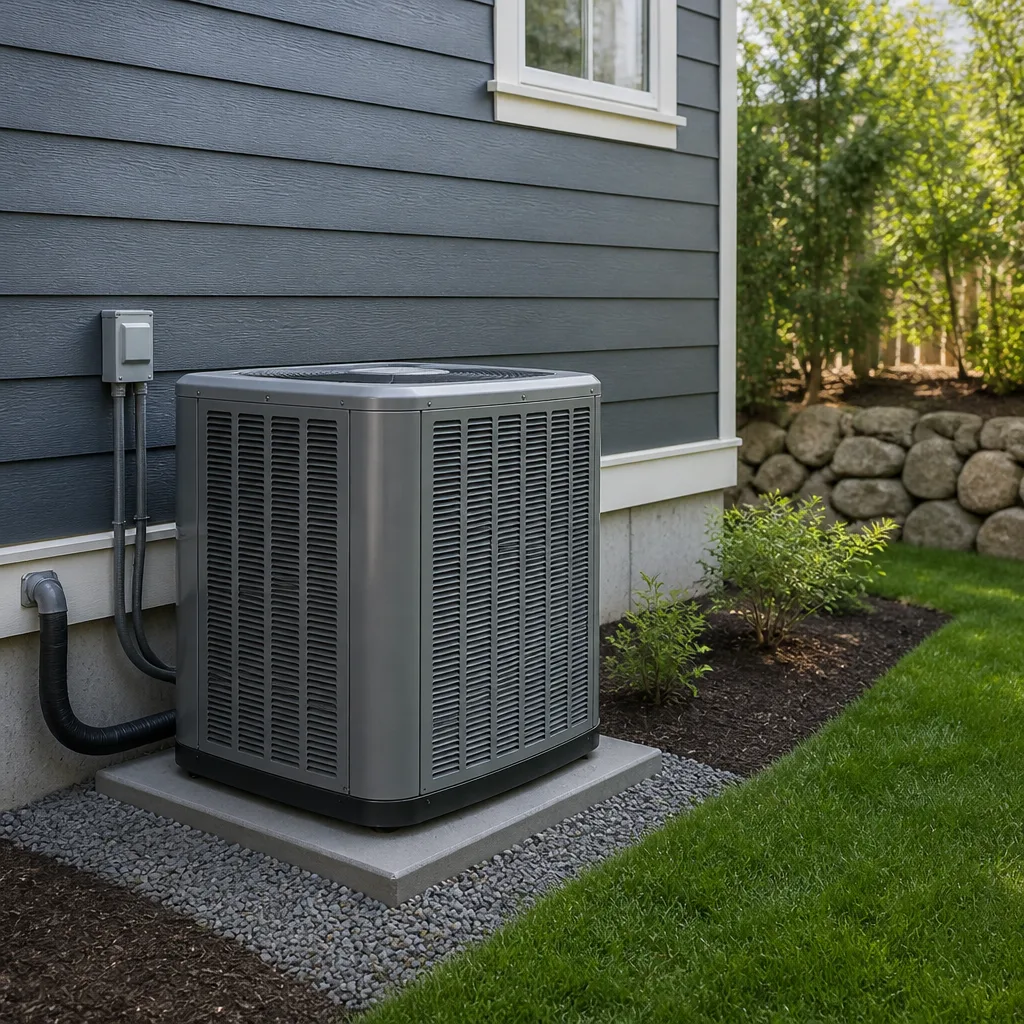 Heat pumps
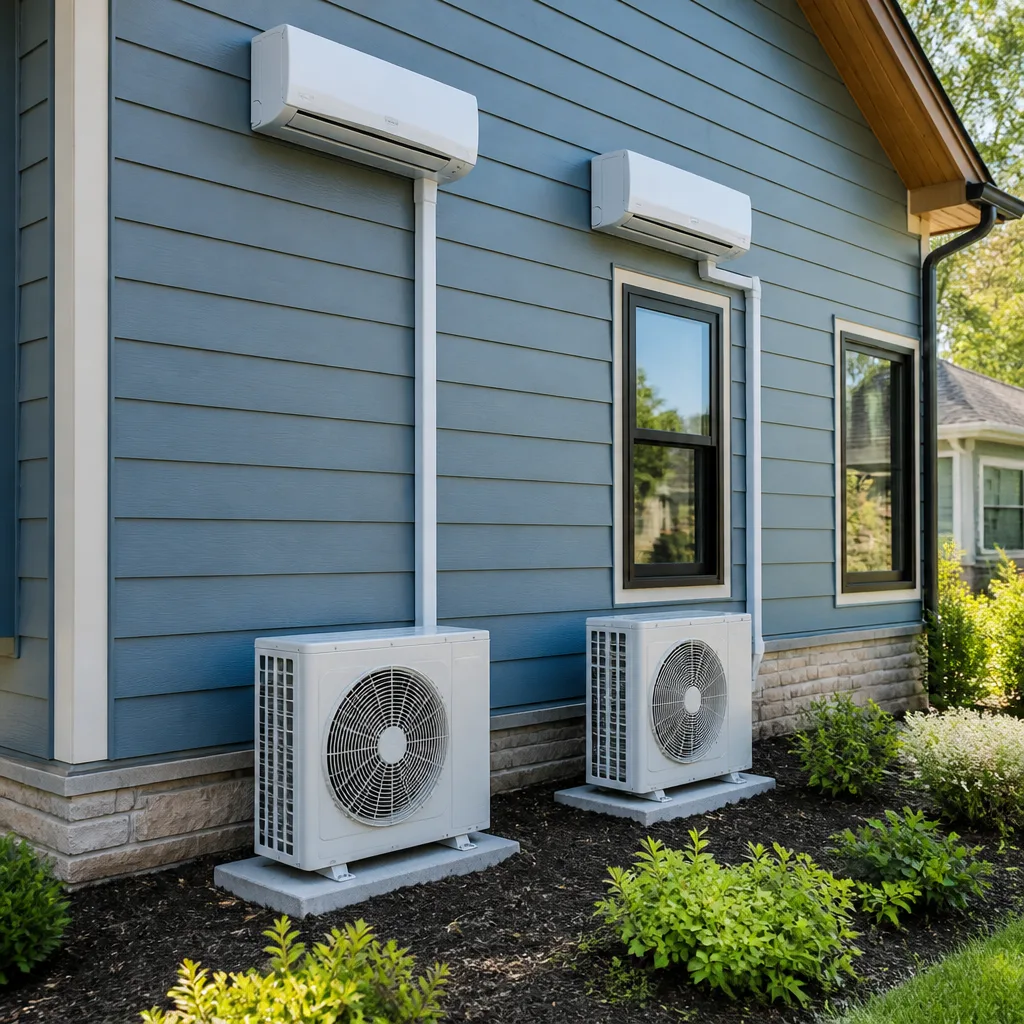 Ductless mini splits
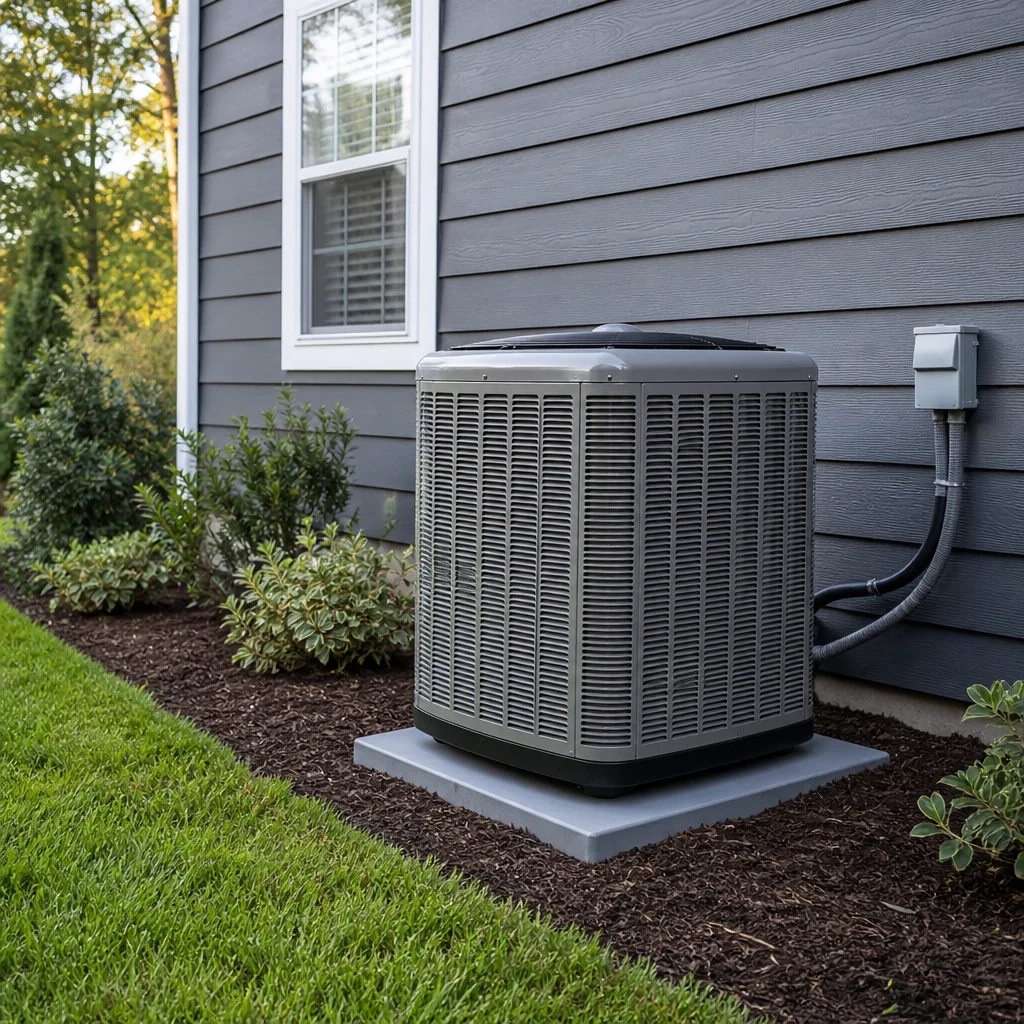 Carrier
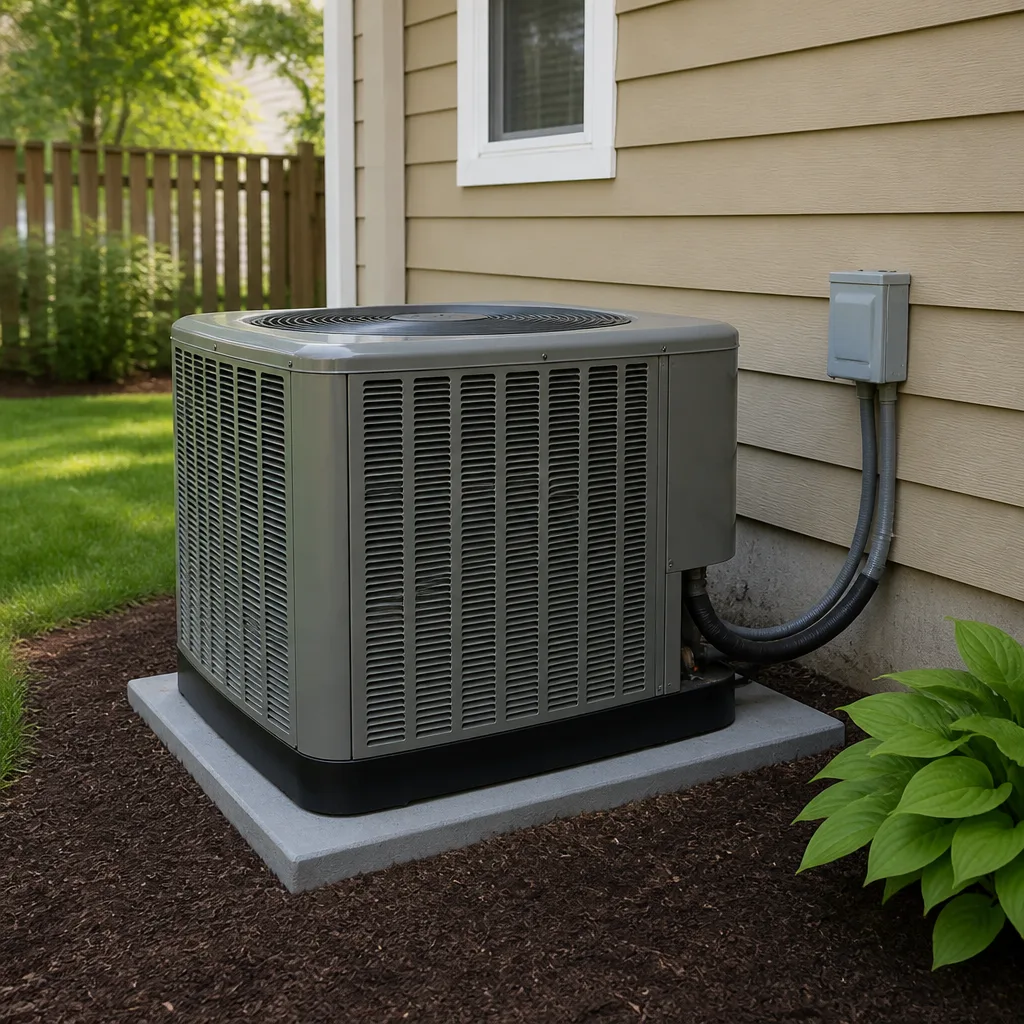 Trane
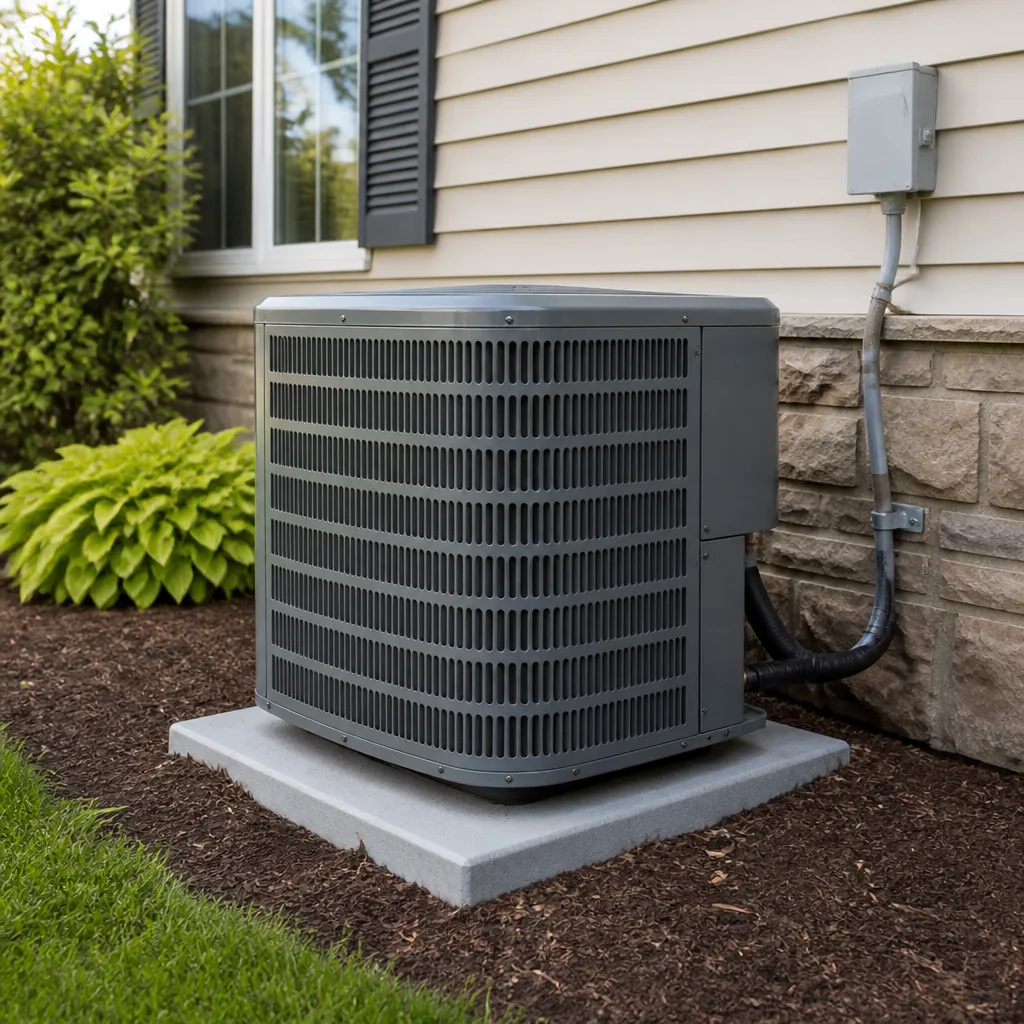 Goodman
Seasonal tune-up and full diagnostic on your Carrier, Trane, or Goodman system - readings shown to you before any repair is proposed
Diagnosis first, numbers second - you approve the repair price before a single part goes in.
Get your free estimateDIY vs Professional AC Repair & Installation: What’s Safe to Do Yourself
A licensed technician will tell you there are things on your AC system you should never touch, and they’re right. What they’re less likely to tell you is that there are also tasks you’re fully qualified to handle, and paying a service call to do them is money you don’t need to spend. We’ve watched both kinds of mistakes play out across Summerlin for years: a homeowner who saved $150 changing his own filter, and a homeowner who tried to top off his own refrigerant and turned a $200 fix into a $2,000 repair. This guide gives you both sides straight, without the trade protectionism that makes most versions of this article useless.
Quick Answer
Safe for a careful homeowner: filter changes, thermostat swaps, condensate line clearing, and breaker resets. Not safe and usually not legal: anything involving refrigerant, electrical components inside the unit, gas connections, or compressor work. Replacing a system, or opening the sealed refrigerant circuit, is a licensed job in Nevada, and doing it yourself can void your manufacturer warranty and trigger penalties for handling refrigerant without EPA 608 certification. If you’re unsure which side of that line a task falls on, that’s your answer: call us.
Styles & brands we work with
- AC repair
- Furnace & heating
- Heat pumps
- Ductless mini splits
- Carrier
- Trane
- Goodman
Table of Contents
- Where the Legal Line Sits in Nevada
- Tasks That Are Genuinely Safe to Do Yourself
- How DIY Work Voids Your Warranty, Even When Done Right
- The DIY Mistakes That Turn $200 Into $2,000
- Why AC Installation Is Never a DIY Job
- How to Vet a Repair Quote Before You Call Anyone
- Common Mistakes to Avoid
- When to Call a Professional
Where the Legal Line Sits in Nevada
Nevada draws a clear legal line between maintenance you can do on your own equipment and work that requires a credential. The line is about two things: refrigerant and licensed trade work. Understanding where it falls keeps you out of trouble and out of a much larger repair bill.
Refrigerant handling requires EPA Section 608 certification. Under federal law, anyone who opens a refrigerant circuit, recovers refrigerant, or adds refrigerant to a system must hold EPA 608 certification. That includes R-410A and the newer R-454B systems now being installed in Summerlin homes. There is no homeowner exemption. Buying refrigerant without certification is also restricted, which is why the cans you’ll find at some online retailers are either knockoffs or not what they claim.
Contractor licensing applies to the work itself. The Nevada State Contractors Board requires a C-21 (Refrigeration and Air Conditioning) license for anyone performing HVAC work for compensation. If you hire an unlicensed operator and something goes wrong, you have very little recourse. Nevada also requires a permit for system replacement in most jurisdictions, and unpermitted work can complicate a home sale.
Penalties are real. Federal penalties for knowingly venting refrigerant or handling it without certification can run into five figures per violation. The Contractor’s Board can fine unlicensed operators and shut them down. And even for tasks that feel borderline, the practical risk is that your homeowner’s insurance won’t cover damage caused by unpermitted or unlicensed work.
What this means in practice: the repair you’d want to do yourself when your Summerlin AC quits in July is often the exact repair the law says you can’t touch. The tasks on the safe list below are the ones that don’t cross that line.
Tasks That Are Genuinely Safe to Do Yourself
There are four jobs on your AC system that a careful homeowner can handle without a license, without special tools, and without creating a warranty problem. We’ve walked Summerlin customers through all four over the phone. Here’s what each one involves, and where the honest limit is.
1. Changing the air filter
This is the single highest-value thing you can do for your system, and it takes five minutes. A clogged filter starves the system of airflow, which drives up energy bills and can freeze the indoor coil. In Summerlin’s dusty spring, filters clog faster than the national rule-of-thumb suggests. Check yours every 30 days from April through June, then every 60 to 90 days the rest of the year if you don’t have pets or heavy foot traffic. Limit: don’t use a filter with a higher MERV rating than your system is designed for. A MERV 13 filter in a system rated for MERV 8 chokes the airflow and causes the exact problem you’re trying to prevent.
2. Swapping a thermostat
Replacing a thermostat is a weekend project for anyone comfortable with a screwdriver. Turn off the breaker, photograph the wiring before you remove the old unit, and match the wire labels to the new thermostat’s terminals. Most modern thermostats use the same R, W, Y, G, C, and O/B convention. Limit: if your system uses a communicating thermostat (common on Trane and Lennox variable-speed systems), a standard replacement won’t work and can throw error codes. If you see more than six wires or a “communicating” label, call a technician.
3. Clearing the condensate drain line
When your AC runs, it pulls moisture out of the air and drains it through a PVC line that exits near your unit. In Summerlin’s dry climate, that line can clog with algae, dust, and scale from hard water, and when it does, the float switch shuts the system down or water pools on the floor. You can clear a simple clog by finding the access cap near the indoor unit, pouring a cup of white vinegar through it, and following with a shop vac on the outdoor end. Limit: if the clog won’t clear, or you see standing water in the drain pan, stop. A backed-up line has soaked drywall and flooring before.
4. Resetting the breaker
If your AC won’t turn on, the first thing to check is the breaker. A tripped breaker is a normal safety response. Turn it fully off, then fully on, and wait a few minutes. Limit: if the breaker trips again immediately, don’t keep resetting it. A breaker that trips twice in a row is telling you there’s a real electrical fault, and continuing to reset it can damage the compressor or start a fire.
What does not belong on this list: anything requiring you to open the electrical panel on the outdoor condenser, touch refrigerant lines, or add refrigerant. Those cross the legal line covered above.
How DIY Work Voids Your Warranty, Even When Done Right
Here’s the part most homeowners don’t hear until the warranty claim is denied: manufacturers don’t need to prove your DIY work caused the failure. They only need to establish that unqualified work was performed on the system. That’s a much easier standard to meet.
Every major manufacturer, Trane, Lennox, Goodman, Rheem, Carrier, and the others, requires that installation and certain repairs be performed by a licensed contractor for the warranty to stay valid. When you file a compressor claim, the manufacturer’s adjuster looks for evidence that someone other than a licensed tech worked inside the unit. A mismatched capacitor, a hand-cut wire splice, or a refrigerant charge recorded outside the manufacturer’s spec is enough to deny the claim. We’ve seen this happen in Summerlin on systems less than five years old.
The practical consequence: the $180 you saved doing your own repair can turn into a $1,800 compressor replacement that you pay for entirely out of pocket, because the manufacturer won’t touch it. And the manufacturer’s decision is final. There’s no appeal process that ends well.
If you’re mid-repair and unsure whether a task voids your warranty, stop and call. A 15-minute phone call is cheaper than a denied claim.
The DIY Mistakes That Turn $200 Into $2,000
The dangerous repairs on this list share a pattern: they look like they’re going well right up until they don’t. Here are three we see in Summerlin, plus how each one turns a small bill into a large one.
Coil damage from improper cleaning
The outdoor condenser coil is a dense aluminum fin assembly, and it looks like it wants to be pressure-washed. It doesn’t. Even a garden hose at full pressure will flatten those fins, and once enough of them are bent, airflow across the coil drops and the system can’t reject heat. In Summerlin’s spring dust season, we replace bent coils every month that were “cleaned” by the homeowner. A flattened coil means a coil replacement, $1,200 to $2,000, when the original service call would have been around $200.
Overcharged refrigerant from a DIY top-off
Adding refrigerant is not like adding oil to a car. The system is charged to a precise weight or superheat/subcool spec, and adding “a little” without gauges pushes the pressure too high. That raises compressor amp draw, cooks the compressor windings, and voids your warranty in one afternoon. A compressor is the most expensive part of the system, and a $150 DIY recharge that goes wrong becomes a $1,800 to $2,400 compressor job. That’s the single most common DIY disaster we see in Summerlin.
Incorrect capacitor sizing
The start and run capacitors on your outdoor unit are matched to the compressor and fan motor. A capacitor with the wrong microfarad rating looks like it fits, installs the same way, and burns out the compressor within weeks. A few dollars saved at the parts counter costs you a compressor. If your system won’t start and you’ve confirmed the breaker is good, call. Testing and replacing a capacitor is a 20-minute job for a technician.
Why AC Installation Is Never a DIY Job
Replacing an AC system is a load-calculated, permit-required, refrigerant-sealed job. There’s no safe version of a homeowner installation. Here’s why the skilled DIY-er should stop before they start.
- Load calculation. System sizing isn’t guesswork. A proper Manual J load calculation factors in square footage, window orientation, insulation, and Summerlin’s summer design temperature. Get it wrong on the high side and you get short-cycling and humidity problems. Get it wrong on the low side and the system runs nonstop and never cools the house.
- Permits and inspections. Summerlin installations require a permit and a final inspection. Unpermitted work can complicate the sale of your home and may require the system to be torn out and redone.
- Line-set brazing and evacuation. The refrigerant circuit has to be brazed, pressure-tested, and pulled to a deep vacuum before charging. This takes equipment and certification you don’t have.
- The refrigerant charge. After installation, the system must be charged to the manufacturer’s specification using gauges and a superheat or subcool calculation. An incorrectly charged system underperforms from day one.
- The warranty. Manufacturers will not honor a warranty on a self-installed system. Period.
- Rebates and financing. Utility rebates for high-efficiency equipment require a licensed contractor’s invoice and proper documentation. Filing them yourself rarely works.
If you’re weighing repair against replacement on an aging Summerlin system, that’s a conversation worth having before you buy anything. Our team hands you a written fixed price in writing up front, with rebate and financing paperwork handled before we schedule the install date.
How to Vet a Repair Quote Before You Call Anyone
Before you decide whether to call a pro at all, it helps to know what a fair quote looks like. Here’s the checklist we’d use if we were the homeowner.
- Ask for the diagnostic fee up front. In Summerlin, the standard diagnostic fee ranges from $79 to $149. A company that won’t quote it on the phone is a company to skip.
- Ask for a written estimate. Every reputable HVAC company provides one. If the technician quotes only verbally, ask for it in writing before any work begins.
- Match the part names to the symptoms. A capacitor, a contactor, and a blower motor each fail with their own specific symptoms. Ask the technician to explain why the part failure caused what you’re seeing. If they can’t, get a second opinion.
- Compare line-item repair to replacement math. A good rule: if the repair costs more than a third of a new system’s total and the current system is over 12 years old, get a replacement quote before you approve the repair. If the system is under 10 years old, repair almost always wins.
- Watch for the pressure close. If a technician tells you the price is only good “today,” it isn’t. Upfront pricing doesn’t expire. That line is a sign to slow down.
- Check the contractor’s license. The Nevada State Contractors Board maintains a free public lookup. Verify the license number on the quote matches the company name.
Here’s what fair pricing actually looks like in the Summerlin market for common repairs, so you have a benchmark:
- Capacitor replacement: $180 to $340 installed
- Contactor replacement: $180 to $320 installed
- Condensate drain clearing: $120 to $250
- Refrigerant leak search and repair: $300 to $600 before recharge
- Refrigerant recharge: $180 to $450 depending on the type and amount
- Blower motor replacement: $300 to $600 installed
If a quote comes in far above these ranges, ask why. If it comes in far below, ask what’s excluded. Both are fair questions. That’s why we offer a free second opinion on any written estimate: a fair quote holds up when someone else reads it.
Common Mistakes to Avoid
- Using too high a MERV filter. A MERV 13 in a system designed for MERV 8 restricts airflow, freezes the coil, and drives efficiency down. Match the filter to what the manufacturer specifies, not to what the label brags about.
- Hosing down the outdoor coil at full pressure. In Summerlin, spring dust storms coat condenser coils fast, and the temptation is to blast it off. A garden hose nozzle at full pressure flattens the aluminum fins and reduces heat rejection for years. Use low pressure and a fin comb, or call someone who knows the coil’s tolerances.
- Resetting a tripped breaker more than twice. A breaker that trips twice in a row is reporting an electrical fault, and continuing to reset it can destroy the compressor. Stop and call.
- Ignoring a water spot under the indoor unit. In Summerlin, a backed-up condensate line leaves water damage on drywall and carpet fast, usually within a day. A trickle you notice on Tuesday is soaked flooring by Thursday.
- Buying a “universal” replacement part online. Capacitors and contactors have to match the exact electrical spec of your unit. A universal part that fits the mounting holes may not fit the electrical profile, and putting it in can void your warranty even if the system still runs.
- Adding refrigerant yourself. This is the biggest one. Refrigerant handling is a federal certification issue and a compressor-killer when done wrong. There is no safe DIY version of this repair.
- Skipping a second opinion on a large repair. A quote that’s 40% higher than a competitor’s, or a repair quote on a system younger than 10 years, deserves a second look. Free second opinions exist for exactly this reason.
When to Call a Professional
Call a professional any time the work crosses into refrigerant, the sealed electrical components of the outdoor unit, the compressor, the gas connection, or the breaker panel. Call if you’ve reset a breaker twice and it trips again, if you hear grinding or buzzing from the outdoor unit, if you smell burning, or if water is pooling near the indoor unit. Call if the repair involves a part you can’t name with confidence, or if the system is under 10 years old and still under warranty. Call before you spend money on a replacement quote if you’re unsure of the diagnosis.
Fireside Heating & Air Co. Summerlin offers free estimates in Summerlin. Call (888) 325-9387.
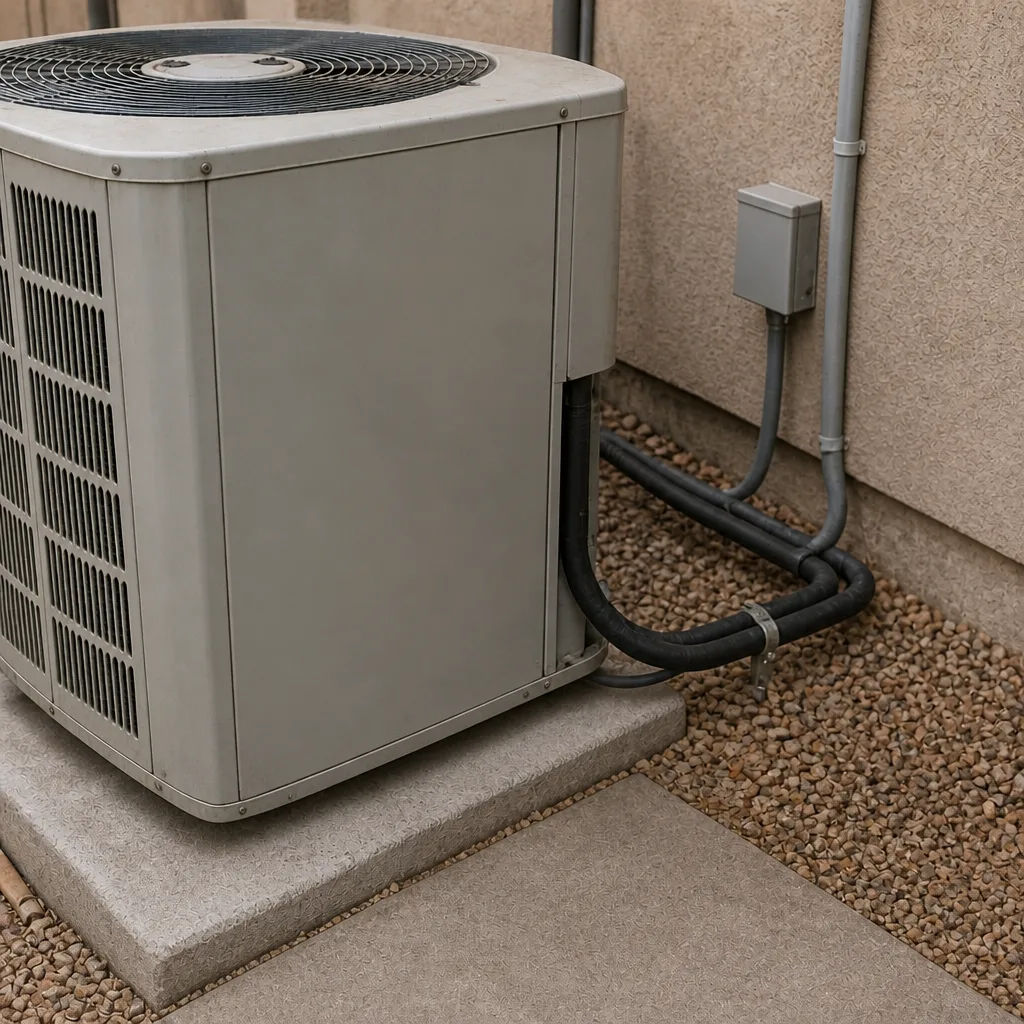
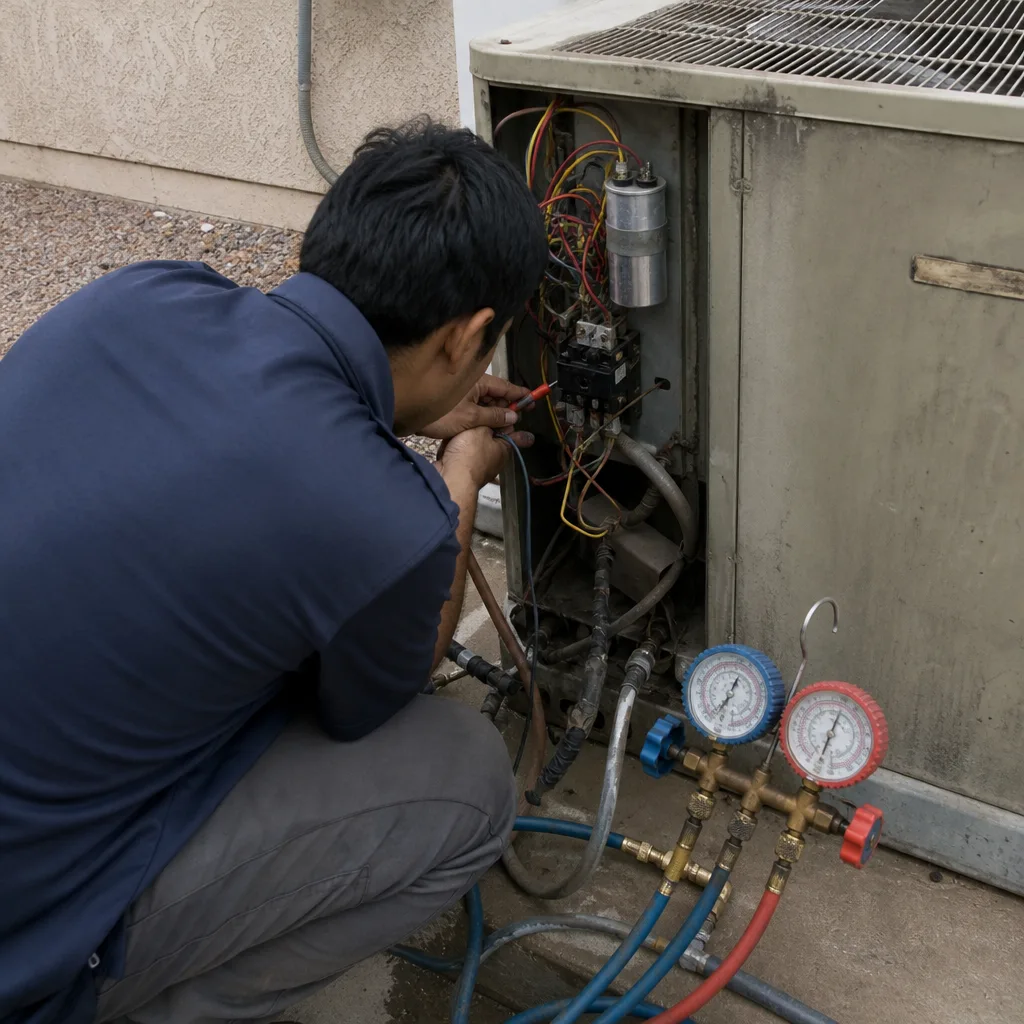
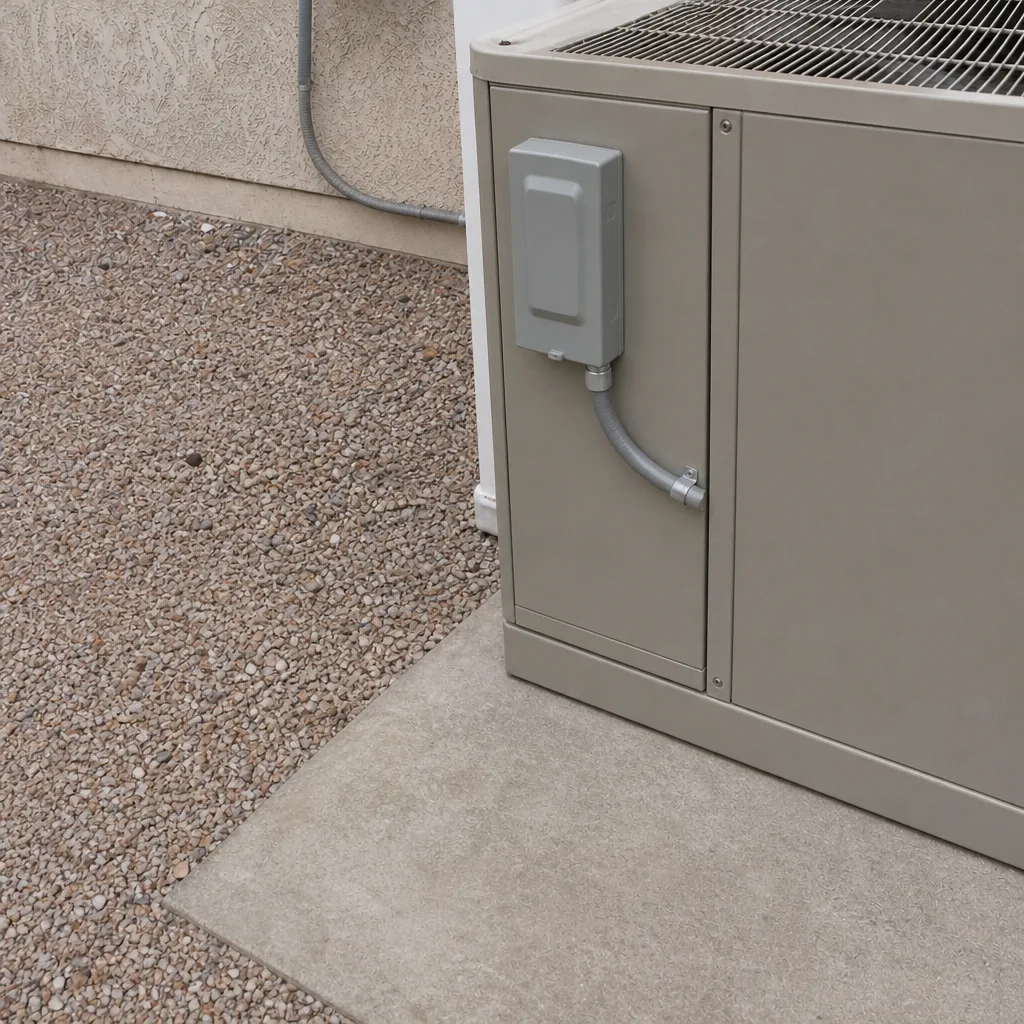
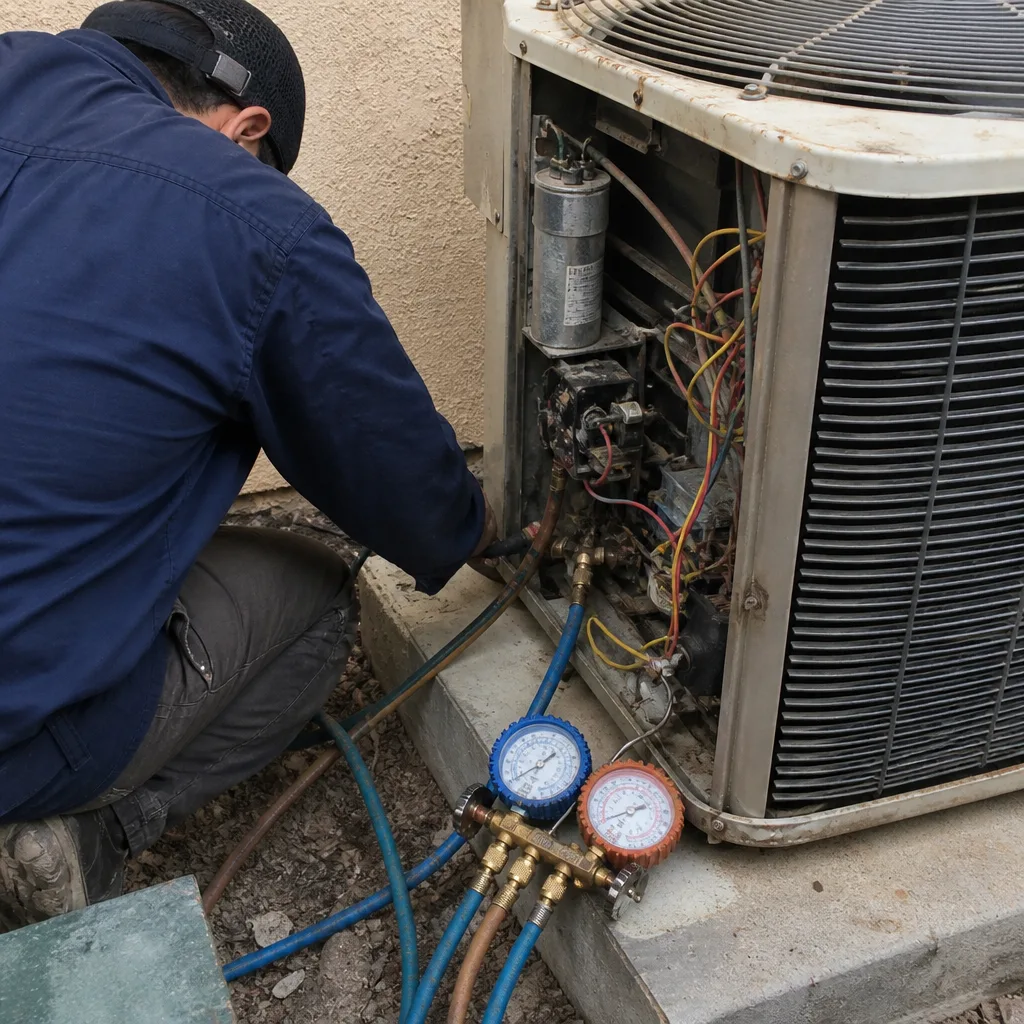
See the difference
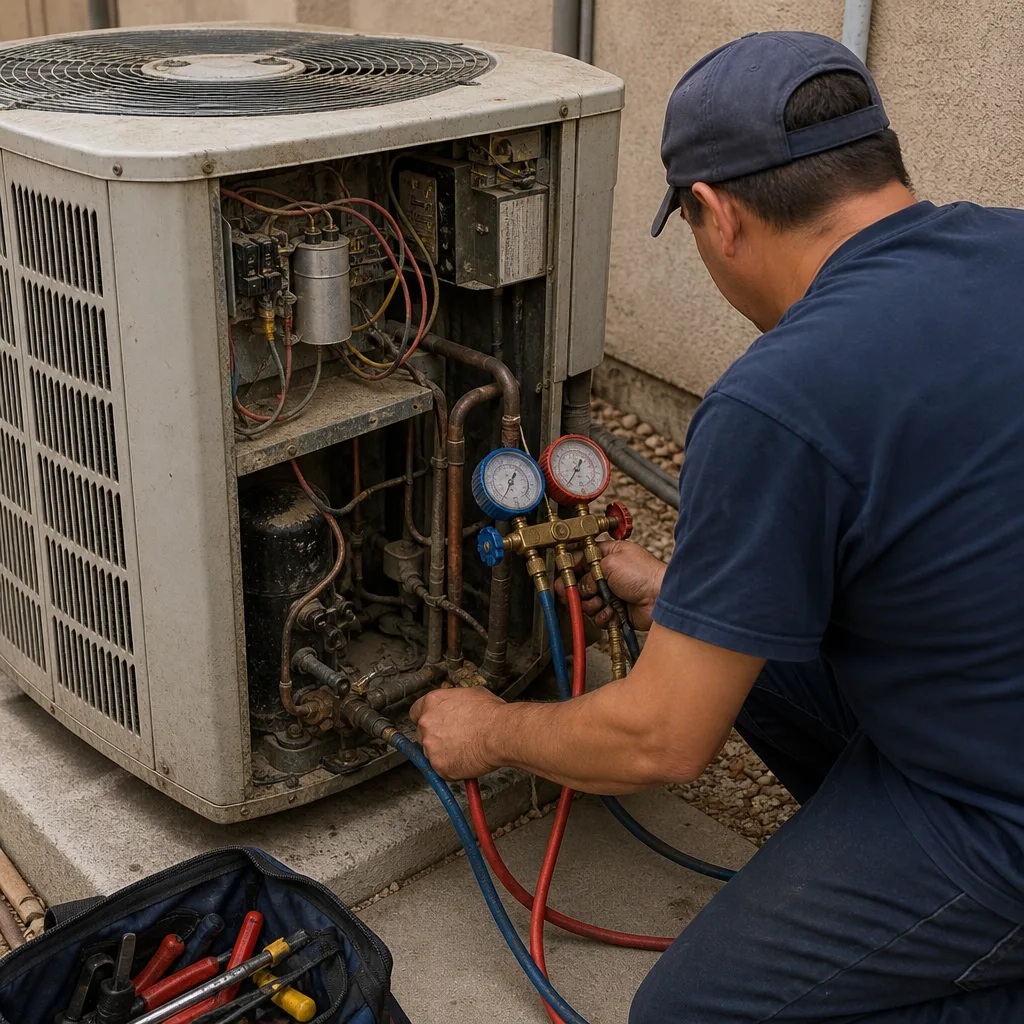 Before
 After
 Before
 After
 Before
 After
Frequently Asked Questions
No. Anyone who opens a refrigerant circuit, recovers refrigerant, or adds refrigerant must hold EPA Section 608 certification under federal law, and there is no homeowner exemption. Buying refrigerant without certification is also restricted. Hiring an uncertified operator exposes you to warranty denial and, in some cases, shared liability. Call (888) 325-9387 for refrigerant work done right the first time.
No. Filter changes, thermostat swaps on standard systems, and condensate line clearing are all considered routine maintenance and do not void the manufacturer’s warranty. What voids the warranty is unqualified work inside the unit: refrigerant handling, electrical component swaps, or compressor work done by someone without a license. If you’re unsure which category a task falls into, call before you start.
Summerlin’s spring dust storms coat condenser coils and clog filters faster than most climates, and the first hard heat wave of May or June is when under-maintained systems fail. A spring tune-up catches low refrigerant, worn capacitors, and clogged coils before the 105-degree days arrive. Our $89 seasonal tune-up is built for exactly this timing, and we hand you a written report of what we found. Call (888) 325-9387 to schedule.
Legally, yes, in Nevada. Practically, we don’t recommend it. The capacitor has to match the compressor and fan motor’s exact microfarad rating, and the wrong one burns out the compressor within weeks. Many manufacturers also treat any unqualified component replacement inside the unit as grounds for warranty denial on the affected part. Testing and replacing a capacitor is a 20-minute job for a technician, and the price range in Summerlin runs $180 to $340 installed. Call (888) 325-9387 if your system won’t start.
A fair quote is written, itemized, and matches the symptom the technician described. Ask what part failed, why it failed, and what the installed price is before any work begins. If the number is 40% or more above the Summerlin range for that repair, or if the technician pressures you with “today only” pricing, get a second opinion. We offer a free second opinion on any written estimate. Call (888) 325-9387.
Under 10 years old: repair almost always wins. Over 12 years old: if the repair costs more than a third of a new system’s total, get a replacement quote before you approve the repair. Summerlin systems typically last 12 to 15 years because of the long cooling season, so a 14-year-old system nearing a major repair is usually a replacement decision. We give you a written fixed price either way, with financing and rebate paperwork handled. Call (888) 325-9387.
The Bottom Line
Change your filter. Swap your thermostat if the wiring is simple. Clear your condensate line. Reset a tripped breaker once. Those are the DIY tasks worth doing, and doing them well extends the life of your system. Everything else, refrigerant, capacitors, contactors, compressors, coils, and installation, crosses a legal and warranty line that costs far more to cross than to respect. If you’re ever unsure which side of that line a repair sits on, that uncertainty is your answer. Call us at (888) 325-9387 and we’ll tell you straight: repair, replace, or do it yourself. Whichever answer is honest.
Written by the team at Fireside Heating & Air Co. Summerlin.